Quick Links
If there’s one thing we’ve learned about commissions inZenless Zone Zero, it’s that bombs always make things better. Whether it be for clearing obstacles, defeating Ethereals, or letting off some steam, explosions are the key to keeping things easy and fun, and provide unique puzzle challenges in Hollows.
Serving as a follow-up toThe Ethereal’s Guideand the Everything for a Perfect Explosion commissions, Scientific Explosion has you re-testing Colt’s Ethereal-killing bombs in order to maximize efficiency and deadliness. So hop into The Hollow and be ready to unleash limitless explosions to blow your foes out of the water and collect as many coins and upgrades as you may!

How To Unlock The Scientific Explosion Commission
Scientific Explosion is amedium-difficulty commissionwith arecommended Agent level of 52. Although it ispart of the Chapter Two commission list, it actually cannot be unlocked until later in your gameplay - quite a bit later, in fact.
Scientific Explosion will become available once you reach anInter-Knot Level of 44, where you willreceive a message from Colt via Inter-Knot. You will also need to complete the prerequisite questsThe Ethereal’s GuideandEverything for a Perfect Explosion.

Once these prerequisites have been met, and once Colt messages you, you canaccept the commission and access it via the HDD.
How To Prepare For The Scientific Explosion Commission
While Scientific Explosion is a high-level commission with high-level enemies,combat is optionalfor the duration of this commission. Regardless, you will want to bring a good team just in case.
If combat happens, there will beseveral rounds of combat against lesser Ethereals, so your best bet is tobring a team that is good at targeting multiple foes. In this case, supports like Nicole or Soukaku aregreat for grouping enemies together.
Scientific Explosion Walkthrough
Entering The Hollow
When you first enter The Hollow, you will start on the left side of the map. After a brief conversation with Colt, you will betransported to the right side of the HDDand directed to move towards a Hollow fissure.
While you can collect a few Gear Coins on this floor, you will not be able to unlock the Gear Coin vaults until you navigate all three floors of the Hollow.
Go down the Hollow fissure to properly begin the commission.
Floor One
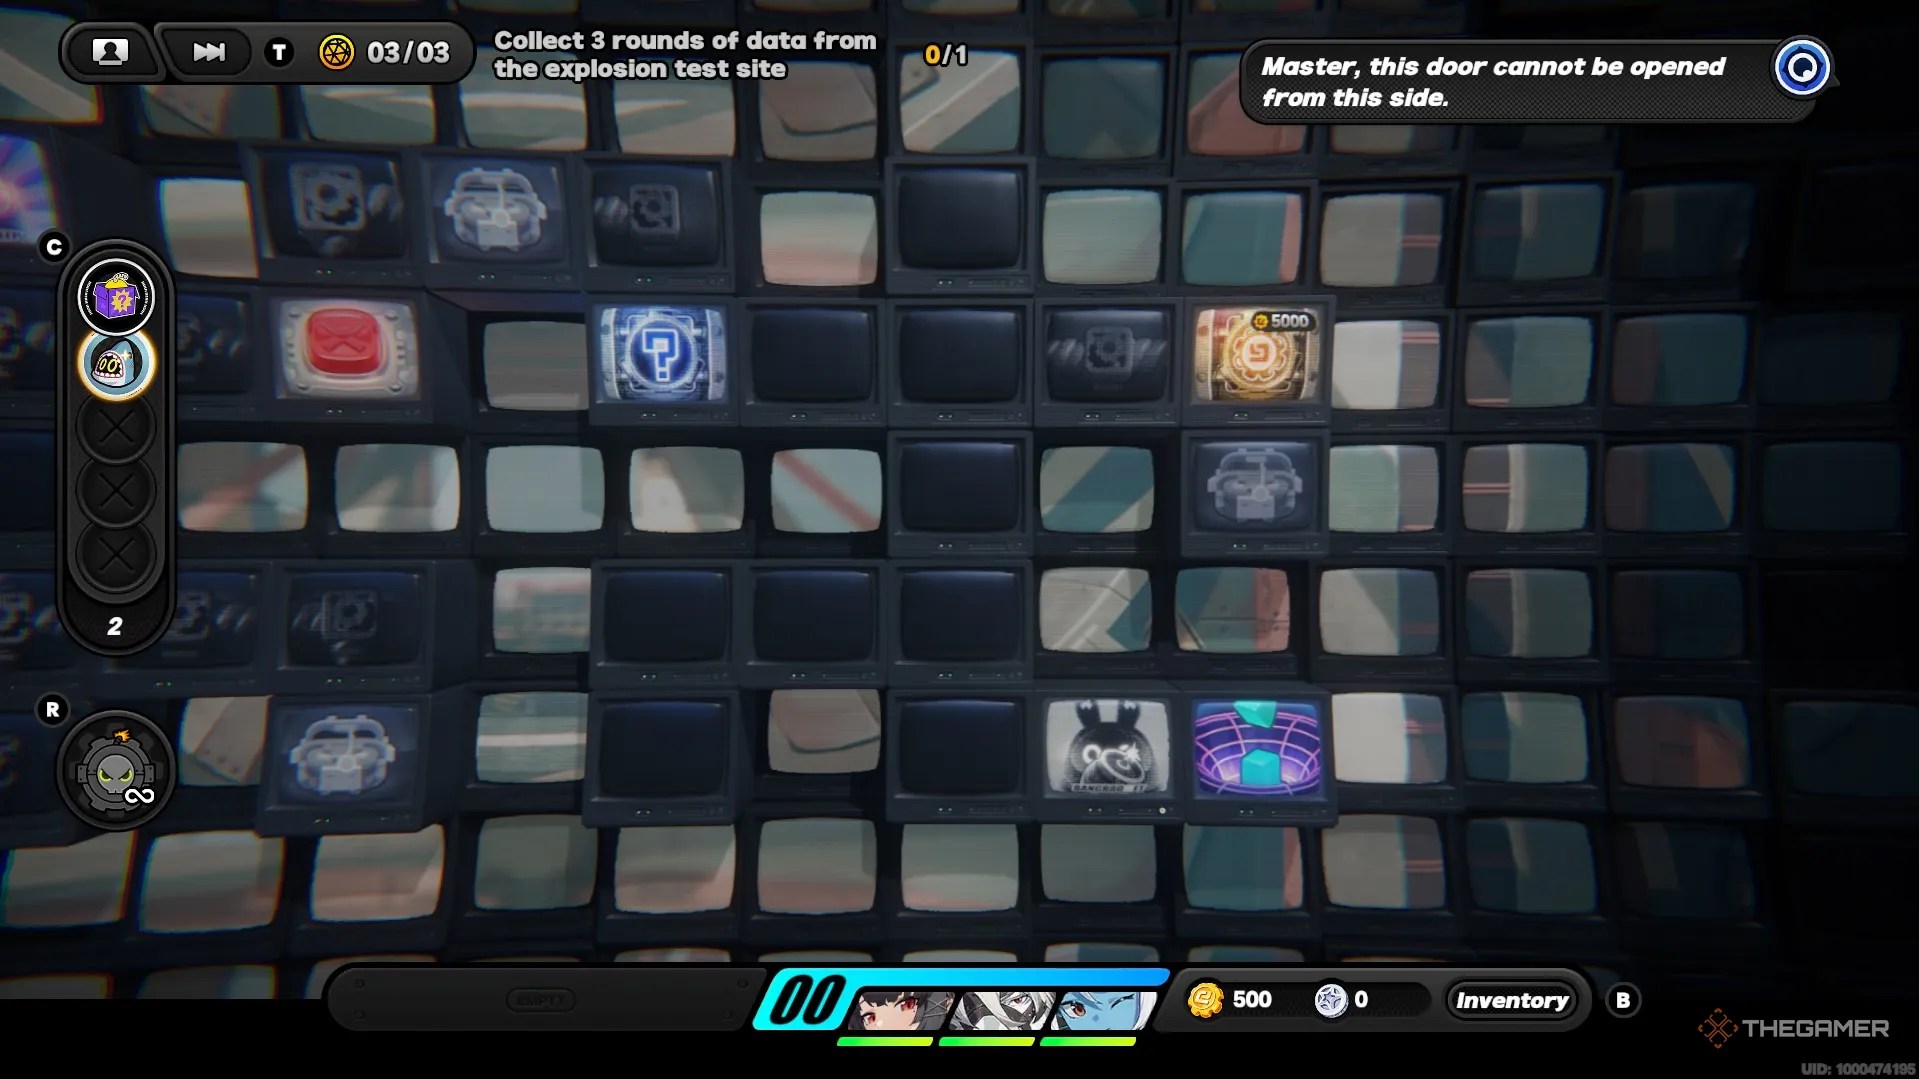
The first floor is theeasiest of the floors to navigate, mostly because the enemies are all lower-level and can beeliminated with a single explosion. On this floor, the mechanics of the puzzle become clear.
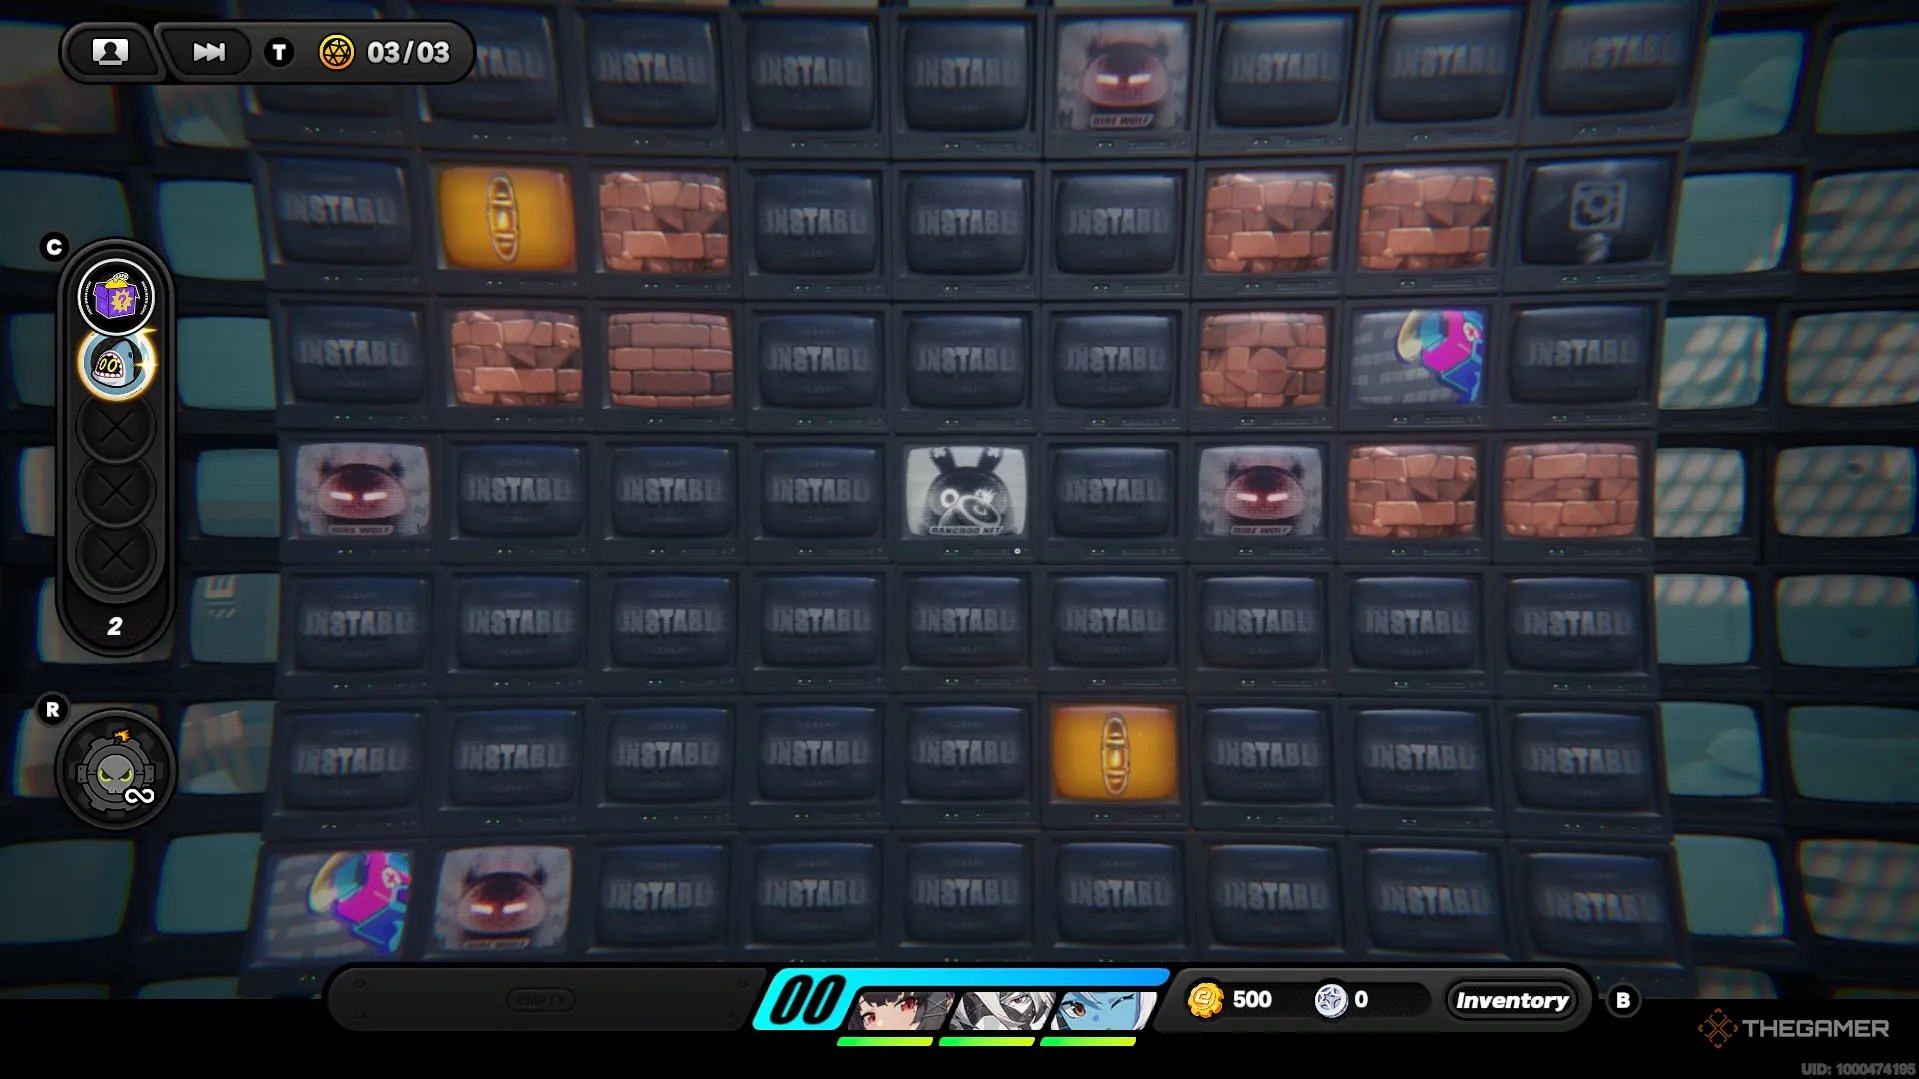
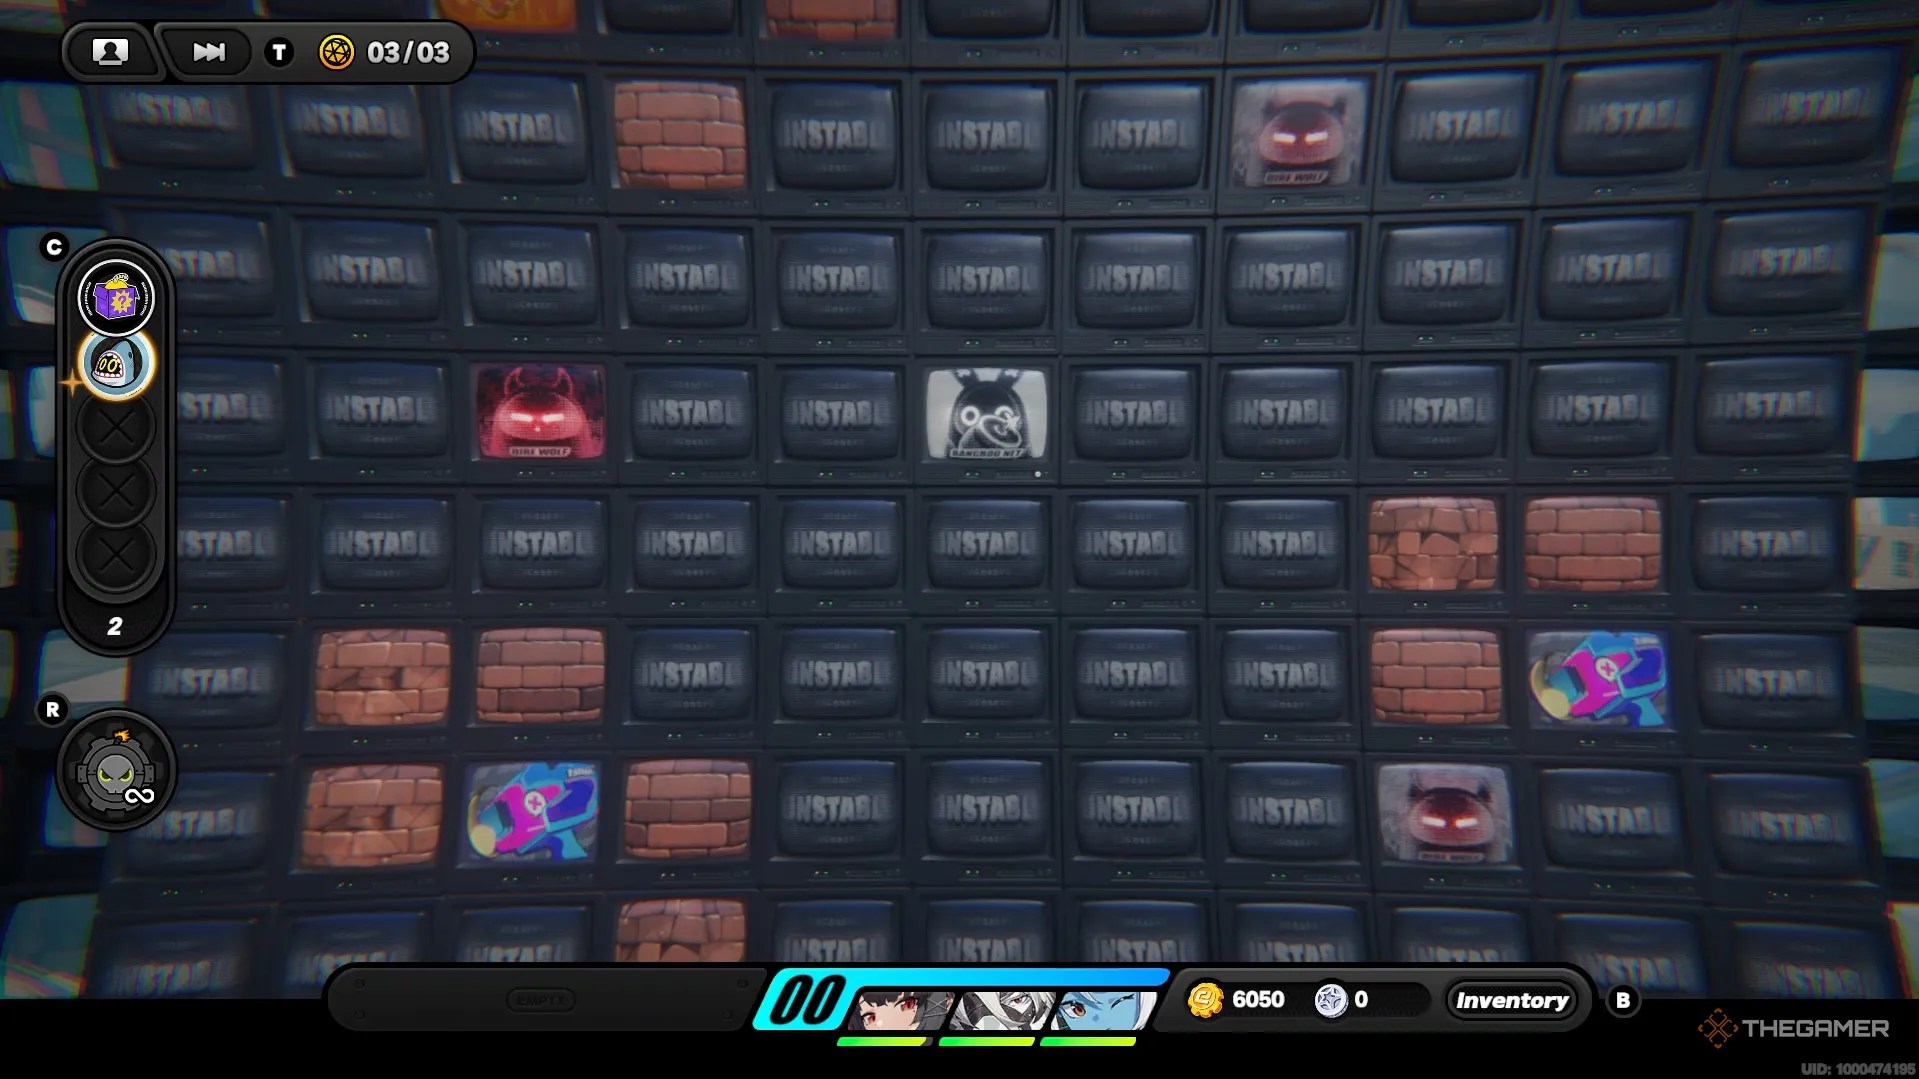
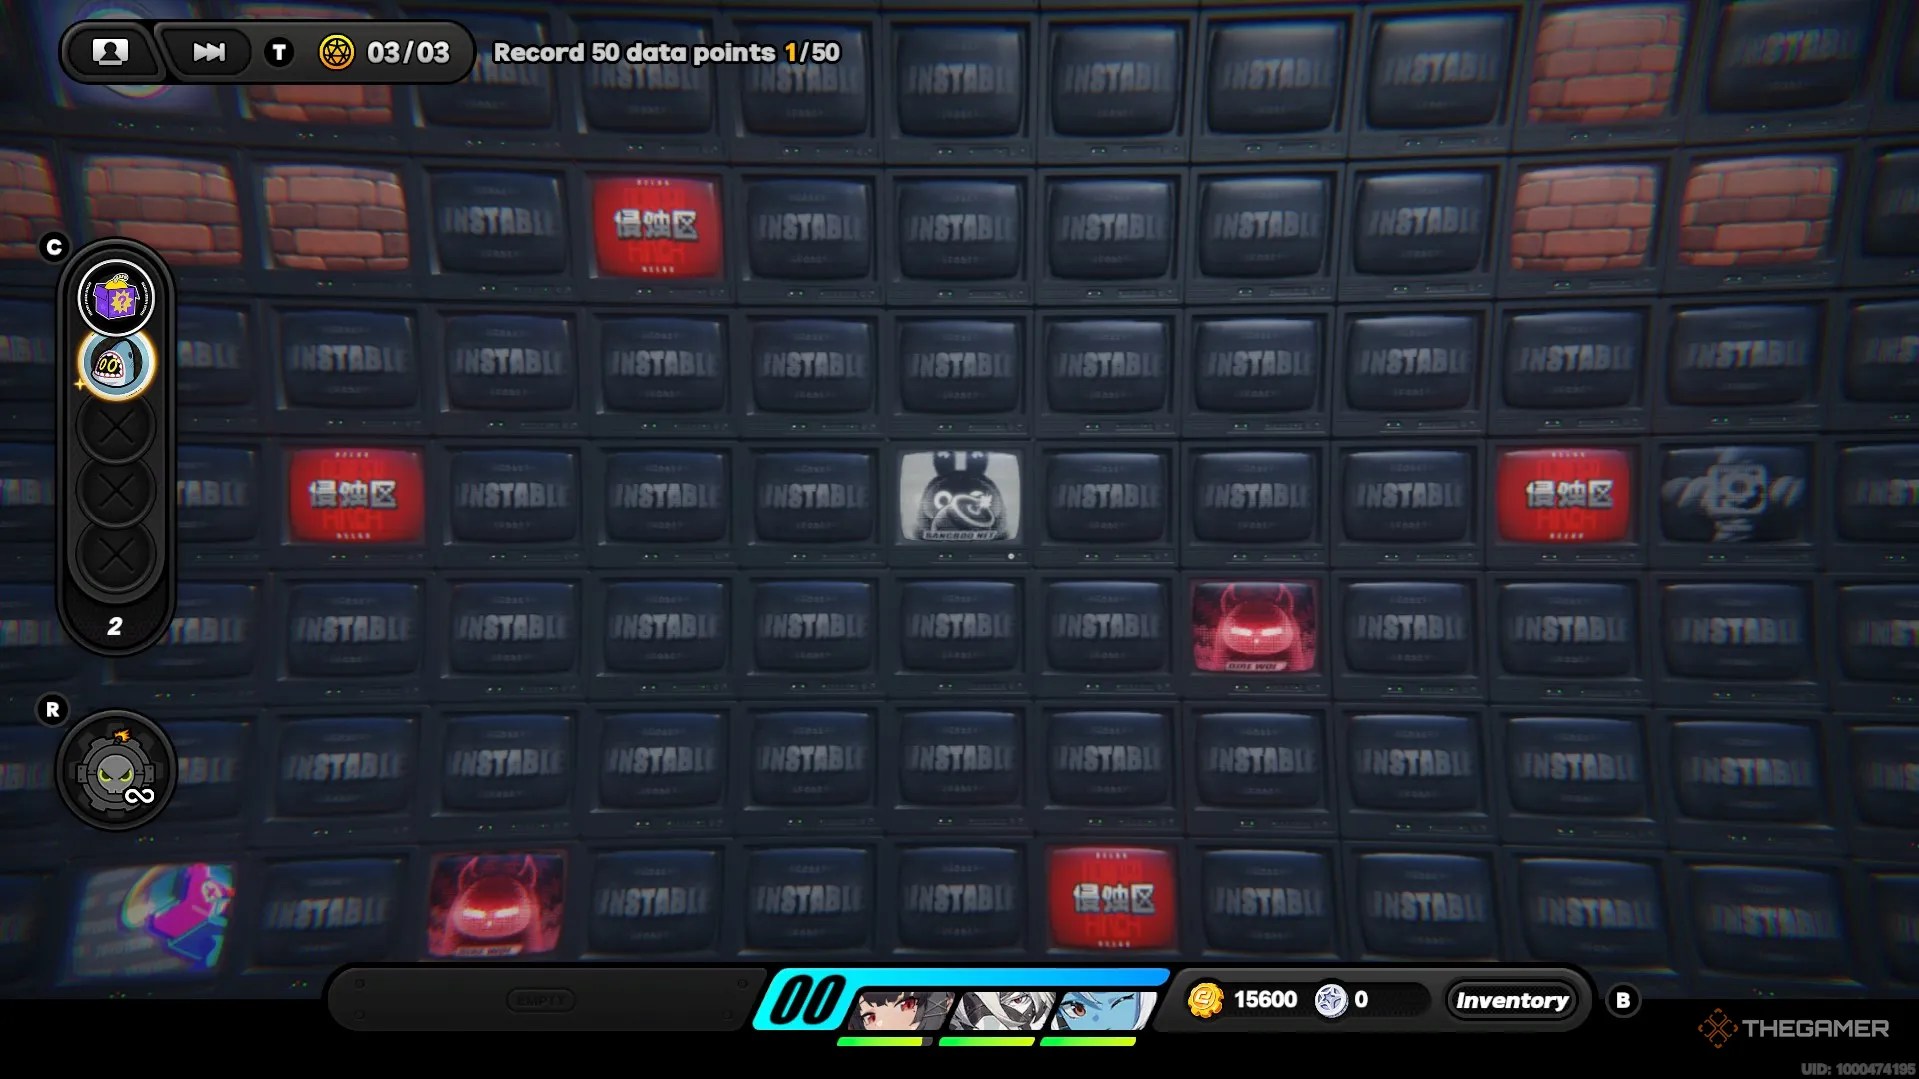
to succeed with this commission, you mustsuccessfully move fifty timeswhile on this floor. This can be in any direction, as long as you fully move each time. Every time youmove three tiles, an explosion will trigger in a cross shape around your bangboo. These explosions can be used toeliminate nearby enemy tiles or brick walls.

Watch out for explosions, as they will destroy Gear Coin tiles as well!
There are a few tile types to watch out for throughout this commission, beyond the enemy tiles.

Theorange coin tiles represent Gear Coins(the value of these tiles, however, will vary depending on the upgrades you purchase). Thetiles with a green outline represent where enemies are about to spawn, and they should be approached cautiously.
Lastly, and most importantly, thetiles with a blue-and-pink hammer represent upgradesthat can be added to make your bombs more effective and rewards more valuable.

Obtain ten percent more Gear Coins
Unstable Conversion
Enemies have a ten percent chance to trigger an explosion upon death
Defeat an enemy to obtain 100 Gear Coins
Gain 1 overload charge
Circular Diffusion*
Explosions now cover a circular area, but its inverval increases by three.
High Frequency*
Reduces explosion interval by one.
*The marked upgrades can only be found on Floor Two and Floor Three, and High Frequency can only be found once Circular Diffusion has been unlocked.
Each of these upgrades canstack on top of one another, either increasing the value or percentage each time it is selected.
Ultimately, the goal of this commission is tocollect upgrades to earn Gear Coins, purchase more upgrades,and delve deeper into The Hollow. You candestroy enemy tiles and collect the Gear Coins and upgradesthat they have the chance of dropping.
When you hit an enemy tile, you will be prompted to eitherexpend an Overload charge to immediately fire your bomband defeat it, or toengage in combat with itto gain Overload charges. Choose whichever option you prefer, then claim any rewards it drops.

Defeating enemies is not the only way to gain Overload charges - you’re able to also obtain them through upgrades. If you enjoy combat, then feel free to fight on these tiles. Otherwise, expend your Overload charges to avoid combat entirely!
Once you have moved fifty tiles,Fairy will inform you that you have collected the necessary data, and two new tiles will appear - a Hollow Fissure andThe Gear Coin Shop.
The Gear Coin shop is themost important mechanic in The Hollow, since this is thebest way to spend your Gear Coins. On all the floors except the final floor, you will want tospend as many Gear Coins as possible at the shop.
The first upgrade you purchase from the shop is free, buteach additional upgrade increases in price:
Once all of your Gear Coins have been spent at the shop,collect the Hollow Observation Dataandproceed to the Hollow Fissure to continue to the next floor.
Once this floor is finished, the Gear Coin and Upgrade tiles will linger once the enemies have disappeared - be sure to claim them before proceeding!
Floor Two
Floor Two of the commission is very similar to the first, with thenotable addition of “powerful” enemy tiles. These tiles, marked bya brightly-glowing red enemy, take two explosions to defeat.
On this floor, two new upgrades will become available for you to unlock - the Circular Diffusion upgrade and the High Frequency upgrade. We recommend taking the Circular Diffusion upgrade, then taking the High Frequency upgrade whenever it becomes available.
Continue to explore the area to move the required fifty tiles, collect Gear Coins, and upgrade your bomb. Once you have moved fifty tiles,Fairy will once again prompt you to move down. Spend your Gear Coins at the shop,collect the Hollow Observation Data, and proceed down to the final floor.
Floor Three
Floor Three is very similar to the second floor, with the notable addition ofDanger Tiles that will reduce your party’s hit points. While, if you are avoiding combat, this doesn’t have a significant effect on your gameplay, you should stillkeep a close eye out and avoiding them.
The Danger Tiles appear randomly, so watch your actions and keep an eye out for when they appear.
Unlike on the other floors, you will want to verify you have10,000 Gear Coins before leaving the floor, since you will need these to unlock the Gear Coin vault at the spawn area. Once you have moved fifty tiles and collected 10,000 Gear Coins,collect the final Hollow Observation Dataand take the Hollow Fissure back up!
When you return to the spawn area, you canunlock each of the Gear Coin vaults, one on the left of the HDD and one on the right. When you are ready to leave,speak to the “docile sheep” tileand retire for the day.
