Quick Links
InZenless Zone Zero, there are several critical story moments that not only give you loot and experience, but create a compelling story between Phaethon and their newfound friends. One of the prime examples of this is the first story quest you’ll recieve after the the prologue, where you meet the playful new agent Nekomata.
As you team up with new allies to thwart an evil capitalism scheme, you’ll find new puzzles and massive combat encounters blocking the path to justice. So if you’re looking to help Nekomata and your friends take down yet another grand villain, you’ve come to the right place to learn how to do just that.
How To Unlock The Earlybird Ticket To Safety Commission
To unlock the quest Earlybird Ticket To Safety, you must firstcomplete the Prologue and the questExplosive Last Train. Once this is done, you will begin the storylineCat’s Lost And Found, where Earlybird Ticket To Safety can be unlocked.
Earlybird Ticket To Safety is the last quest in Chapter One of the game, and alsoserves as Nekomata’s character questline.

Quest Walkthrough
While this is a Story Commission, therewill be combat,so coming prepared with a good team is critical.
Because the enemies in this Hollow areweak to Ether and Ice Attributes, consider bringing agents with those Attributes.

While Trial Mode is on, you will only be able to play as Nicole, Billy and Anby, who will all be appropriately leveled regardless of your builds for them. If you want to use your own team, turn Trial Mode off via the toggle button in the bottom left corner of the Agent selection menu.
Likewise, it is recommended that your team beat least Level 15, since this is a more difficult Hollow.

Entering The Hollow
When you first enter the Hollow,move right to collect the Gear Coins and Hollow Data Set. On the far right of the screen you’ll see a “question mark” tile,which cannot be crossed. Instead,move up and take the Hollow Fissure down.
After falling into the Hollow Fissure, you will be asked to “sneak in,” which essentially means thatthe next tile in the HDD won’t appear until you are right in front of it. Follow the path as the tiles appear.

Be sure tomove to the left and unlock the Gear Vaultto find another Hollow Data Set and some Investigator’s Supplies Boxes.
When you’re ready to move on from this area, move up towards the Hollow Fissure. This will take you to a new map, where you canmove up to collect the final Hollow Data Set. When you’re ready to move on, go to thefront of the trainto trigger a cutscene and a round of combat.
Combat One: Vision Mercenaries
Combat will begin, putting you througha few waves of combat with Vision mercenaries. You’ll want to beespecially wary of the shield-users, who can make it hard to get hits in.
We recommendtargeting the smaller enemiesto build up Energy, thenusing combo attacks against the shieldsto burn through their defenses.

If you’re using Nicole, Billy and Anby, you’ll want to keep Billy on the field since he is excellent at taking on multiple opponents at once. Switch to Nicole for crowd control, and if needed, bring Anby out to Stun and Shock the enemies.
Once combat is over, two cutscenes will trigger, explaining Nekomata’s sudden departure and explaining thatyou will be using explosives to defeat the final boss.

Explosives Puzzle
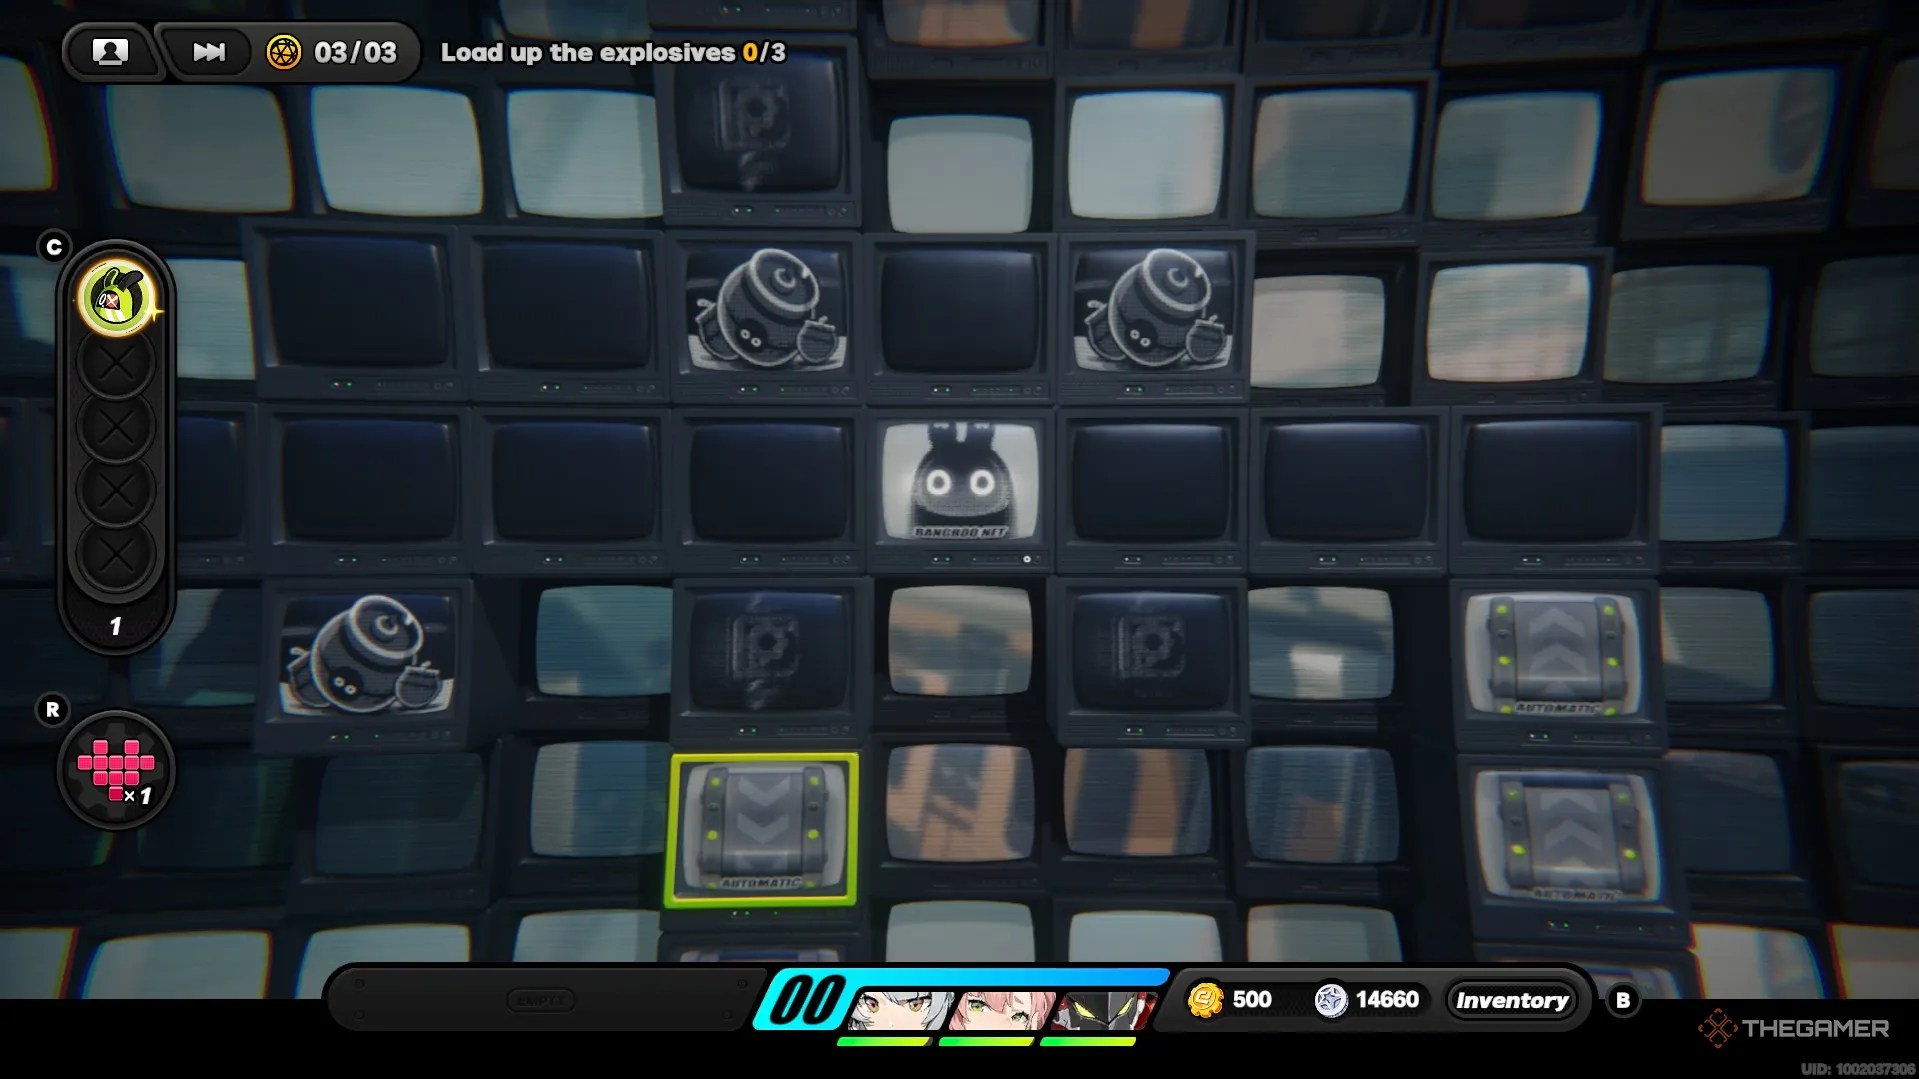
The explosives puzzle can be a bit tricky, namely because itrequires you to use the place-switching mechanicthat comes with pushing puzzles in the HDD. Ultimately, the goal is to getall the bomb tiles onto the glowing green conveyor belt tile.
First, move the centermost tileto get it out of the way. Move one tile to the left, thenpush the center tile up so you swap places with it. From there, simplypush it down onto the converyor belt.

The easiest way to get the bomb tiles onto the conveyor belt is to focus on getting them to the tile directly below the question mark. This makes it easy to switch places with the tile, then move it directly downwards.
Second, move the leftmost tile, which is the hardest one to navigate. The first step is toapproach it from above, then swap places with it. Once you are under it,push it up one more tile, then make a small circle around it so you are on the right side of it. Lastly,move to the left to swap places with it so it is on the right of you.
From there, it should be simple enough to move itup towards the “question mark” tile, swap places with it, and push it downand onto the conveyor belt.
Third, move the rightmost tile, which should be easy with the others out of the way.Move to the left of it, then swap places with it. Move it directly below the “question mark” tile, thenmove under it and swap places. From here, it’s rinse and repeat - move it straight down to the conveyor belt like you did the others.
If you need, you may move to the left and collect the Ether Dewdrops there, either to heal your party before combat or to save for later.
With the bombs loaded onto the train, it’s time to face the fearsome Dead End Butcher.Move to the front of the train tile to continuewhen you are ready.
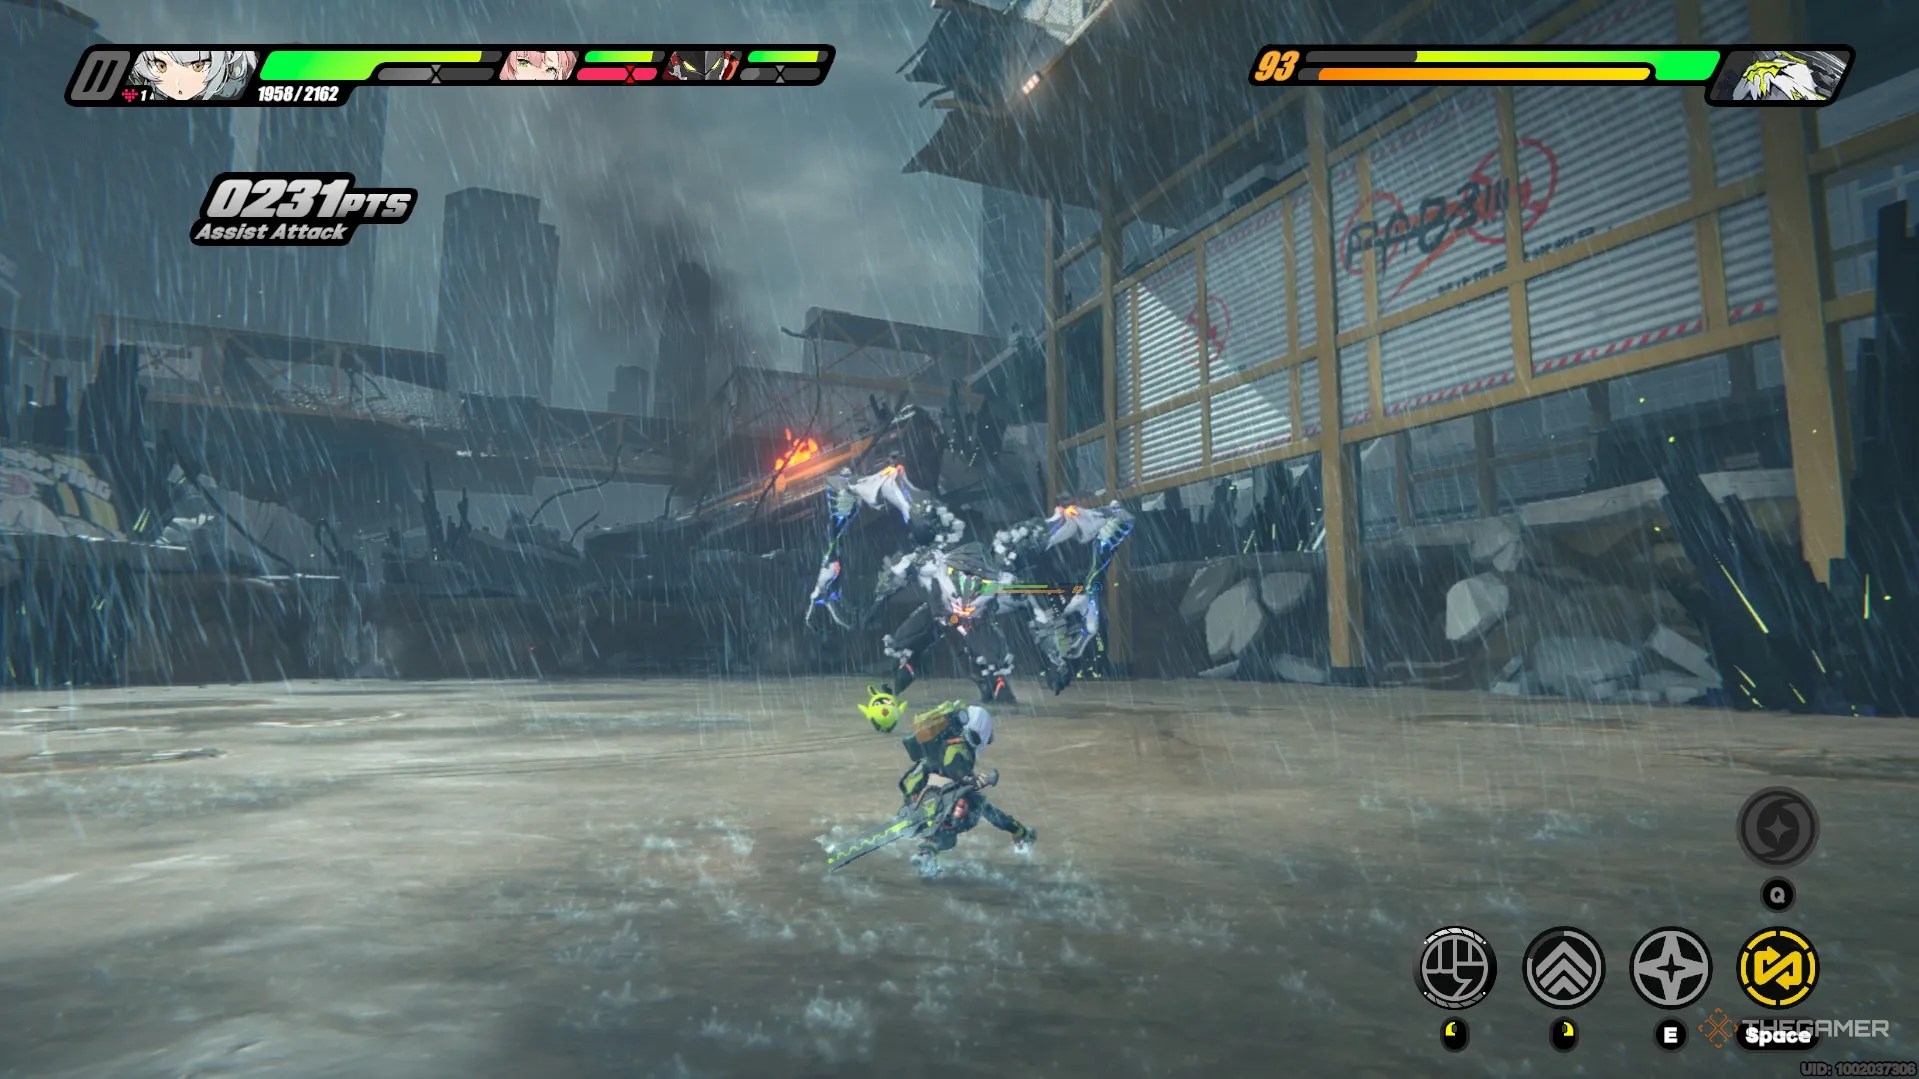
The final part of this commission isfighting the Dead End Butcher, a mega-boss Ethereal with powerful attack combos and two phases to get through.
Weakness: Ice, Ether
Resistances: None
The Dead End Butcher likesperforming a series of heavy attackswith its fists, so your best bet is tobe ready to Assist or Dodge, and build up your Energy and Decibel Rating.
The Dead End Butcher has two phases, which means you canexpect to use a character’s Ultimate Attack twiceif you’re generating enough Decibels with chain attacks. Don’t be afraid to use combos and EX Special Attacks, since combat will draw out for a while.
If you are using Nicole, Billy and Anby, you’ll want to rely on Anby for her Stuns and Nicole for her damage - she deals the most due to the Dead End Butcher’s weakness to Ether. Billy can be great for short bursts, but save your Energy for Nicole and Anby’s EX Special Attacks, since they’re better at targeting single enemies.
Ultimately, you are just stalling the Dead End Butcherbefore the explosives finish it off, but combat can still be tricky if you aren’t quick with a block.
Once the Dead End Butcher is defeated, you’ll get a few more final cutscenes before the commission is complete!
Rewards
For completing the Earlybird Ticket To Safety commission, you will receive:
Additionally, you willconclude the first section of Chapter One, and also get a cutememento of your time spent with Nekomata- a printed picture that you can use to decorate your room!
